


What are some methods for research shopping?
Showrooms
Catalogs and samples
Completed work files
The internet
What is Approach 1 for a final presentation?
Showcase a 1) floor plan board 2) a samples board 3) a furniture board (and of course a full budget)
What is approach 2 for a final presentation?
Roll out a blueprint with furniture and lighting plan and occasionally show a piece of furniture or sample as blue print is presented. There is a full budget list too. Approach is used when interior designer knows the client never agrees to everything when all listed out so to avoid loosing momentum they use this method.
What is the general rule of thumb when using samples in a final presentation?
Bring up to twice as many different sample styles as you intend to present. Since they all should harmonize, you can easily substitute one for another. Same goes for furniture ideas.
What is a benefit to using the modified approach 2 for your final presentation to the client?
Clients are able to take a more active role in choosing their design if they please. I.E choosing an alternative fabric sample if they didn't like the original one presented and using their senses when handling the samples.
What are some pros and cons to approaches 1 and 2?
Approach one is usually used for commercial jobs where a final presentation of everything chosen is expected. Or in residential cases, clients who are more formal or job is very big. Approach two is usually better for client who are more relaxed and you have a closer relationship with. Approach 2 also requires that the designer have a strong personality and good bedside manner.
Describe a third approach a designer can take to present a final presentation? What is the proper name for this?
It's a combination of the two previous approaches where a formal floor plan is created with the addition of room elevations showing furniture, lighting etc. The proper name is called a MAQUETTE. Approach 1 and 2 are used to explain the rest of the presentation.
What are some tips for marking up presentation boards?
1) Present a room horizontally on the piece of paper no mater the shape of the room and indicate North wall.
2) Center floorplan from left to right.
3) Center the plan from top to bottom. *many designers believe leaving an extra inch margin at the bottom
4) For a more formal professional look, draw an outlined border around the entire floorplan board, like the frame around a picture. Draw it one inch from all four sides and then position your floorplan within its space,
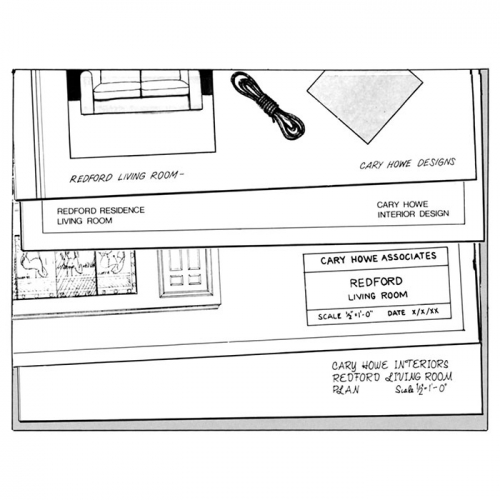
What are some ways to label presentation boards?
1) Use title block, or simple name of client, include space etc. See pic
What lighting should be added and omitted on final presentation?
Add floor lamps, wall sconces, and table lights, but omit hidden ceiling lights or other ceiling fixtures to avoid confusing clients.
While not absolutely essential, it is helpful to provide a Key Number on or alongside each item shown on the plan. For example, in Figure 13A, there is a Key Number written on each piece. The purpose of these numbers is to make the budget easier to understand. Each piece listed in the budget will be numbered to correspond to its number on the floorplan, as in Figure 13B. Clearly, this will make it a lot easier for you to explain the budget to the clients without confusion.
What are some tips when decision on size of presentation board?
1) use a presentation board equivalent to the size of the project
2) don't go any larger than 22"x30"
3) Make sure you can use drafting board size before going larger.